An older AC wall unit may still charge your EV reliably, but it may lack scheduling, energy tracking, and remote control. The upgrade is not always a matter of adding Wi-Fi. Some chargers support an approved smart module; others need full replacement. The vehicle’s onboard charger, the wall unit, and the home circuit all affect charging performance. A useful takeaway, paraphrased from EV charging educator Tom Moloughney’s practical guidance, is: “Choose the charger around the car, the circuit, and the daily routine—not the app alone.”
This guide answers “How to upgrade a dumb AC charger to a smart smart charger?” by walking through compatibility checks, smart features, installation choices, and setup. Start by finding the charger’s model number and checking its manufacturer documentation. Then confirm connector compatibility, circuit capacity, and whether the charger can manage charging schedules or share power with other household loads. A qualified electrician can assess the circuit before any replacement or wiring work. That step matters. A new charger cannot safely make an undersized circuit more capable.
Smart charging can help shift charging to convenient hours and show how much energy your car uses. Still, an app is not a guarantee of lower bills or better charging. Results depend on your utility plan, vehicle settings, home network, and habits. Some details are easy to overlook. For example, a garage Wi-Fi signal may drop behind a closed metal door. The goal is a compatible, dependable setup—not simply the newest screen or feature.
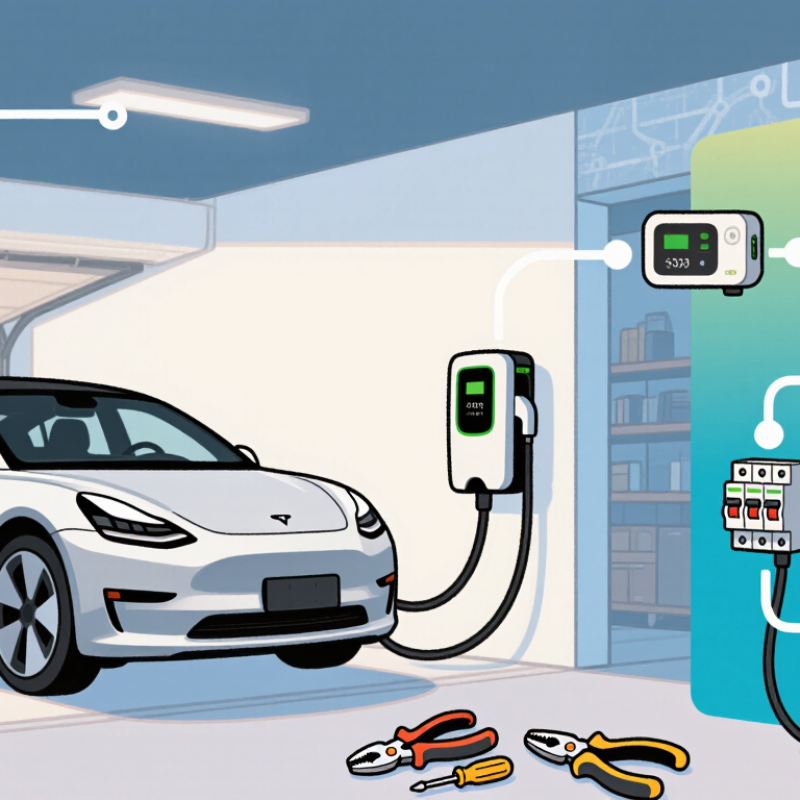
Assess the Existing AC Charger and Its Smart-Upgrade Potential
Start with the charger’s nameplate, connector, rated output, and installation records. A qualified electrician should check the breaker, cable condition, grounding, and available panel capacity. A tidy enclosure can still hide undersized wiring. Don’t assume a new app can make an older charger smart.
The International Energy Agency’s Global EV Outlook 2024 estimates that electric cars used about 130 terawatt-hours of electricity worldwide in 2023. That growing load makes scheduled charging and power monitoring useful, but the charger must support them. Check for network connectivity, firmware support, energy measurement, and compatibility with a home energy-management system. Some units allow a certified communications-module upgrade; others need replacement. Verify the specific model’s documentation before spending money.
Tips: Ask an electrician to confirm continuous-load capacity, then test the charger at its normal setting. Look for load balancing if other large appliances share the panel. Note any limits. A smart feature is only useful when it works reliably with your home network and charging routine.
Typical nominal AC output by supply configuration. These ratings help establish a baseline when checking an existing charger’s nameplate and electrical supply.
Estimated power uses P = V × I for single-phase supply and P = √3 × V × I for three-phase supply, assuming power factor near 1. A smart upgrade also requires compatible current control, switching and safety hardware, plus any needed communications equipment. Confirm the charger nameplate, wiring, protection and local requirements before upgrading.
A dumb AC charger can often gain smart features without replacing its entire enclosure, but compatibility decides whether that is practical. Some older units accept a communication module or control upgrade; others lack the hardware needed for app access, scheduling, or energy monitoring. Check the charger’s documentation and installation records before ordering parts. A clear photo of the rating label helps an electrician identify its voltage, current, and model. That matters.
A compatible retrofit can preserve a working cable and mounting position while adding useful controls. You may be able to set overnight charging hours or review energy use from your phone. But a retrofit cannot fix a worn connector, damaged wiring, or limited charging capacity. Ask a qualified electrician to confirm compatibility and inspect the circuit. Small details count.
Choose a full replacement when the existing unit is damaged, unsupported, or unable to meet your charging needs. A new charger may offer better scheduling and monitoring, but installation can require changes to wiring or the electrical panel. Check the panel’s available capacity before choosing a higher-power unit. Do not assume the old circuit can support it. I would compare the total installation cost, not just the charger price. A retrofit may sound simpler, yet an older unit can make the job unexpectedly awkward.
Before replacing a basic AC charger, check the electrical supply, not just the charger’s features. Read the panel schedule and charger nameplate, then have a qualified electrician assess breaker capacity, wire size, and the home’s total load. EV charging draws power for hours. Measure, don’t guess. A larger breaker cannot safely compensate for undersized wiring.
Confirm that the new unit matches the vehicle connector and the site’s voltage and installation type. An existing outlet may not suit a hardwired charger, and an older circuit may need repair or replacement. Smart scheduling can shift charging to quieter hours, but it does not create extra electrical capacity. Check Wi-Fi coverage near the parking space, too; a weak signal can make app controls unreliable.
Safety details matter. Ask the electrician to verify grounding, overcurrent protection, and any required residual-current or ground-fault protection under local electrical rules. Look for heat marks, cracked outlets, or loose fittings before reuse. Small signs matter. Do not energize damaged equipment. After installation, confirm that charging starts correctly, protective devices operate as intended, and cables remain cool during a normal session. If the panel is already near its limit, discuss a load-management device or service upgrade before buying the charger.
An older AC “charger” is usually an EVSE: the vehicle’s onboard charger converts incoming AC power. Upgrading generally means replacing the wall unit, not modifying the car. Before selecting hardware, check its connector, maximum current, and mounting location. A qualified electrician should verify panel capacity, circuit protection, grounding, and local requirements. A neat installation is not proof of a safe one.
During installation, the electrician can mount the unit near the parking space, allow enough cable reach, and protect the cable from doors, tires, and standing water. The circuit must match the EVSE’s rating; avoid using an adapter or existing outlet as a shortcut. Small details matter. Leave room to reach the reset control without moving the car.
After power-up, connect the unit to the home network using its setup instructions. Test the Wi-Fi beside the charger, since a signal that works indoors may fade near a garage wall. If coverage is weak, reposition the router or use a suitable network connection rather than assuming setup has succeeded. Set charging limits and schedules, then confirm the system reports the correct status while the vehicle is plugged in. Network pairing can be fussy. Record the circuit details and keep the manual accessible; smart features help most when owners can troubleshoot them safely.
Upgrading an older AC charging point usually means replacing it with a compatible smart EV charger, not adding electronics to an existing unit. Have a qualified electrician check the circuit, cable rating, grounding, and available capacity before installation. A charger that fits the wall may still exceed the circuit’s safe limit.
Set the charging current within the electrician’s approved limit, then choose a schedule that matches your routine. If the charger supports load management, configure it to reduce charging when household demand rises. Set access controls and energy notifications only if you will actually use them. Keep the settings simple. I used to think every feature needed enabling; in practice, extra alerts can make important warnings easier to miss.
Test the system with the vehicle parked nearby and the charging cable kept clear of walkways. Start at a lower current, confirm that the car reports charging, and check the app or display for the same status. Let it run briefly, then feel near the plug and cable for unusual warmth without touching exposed electrical parts. Stop charging if you notice heat, a burning smell, repeated faults, or a tripped breaker. Don’t open the charger. Ask the installer to check the connection and protective devices, and record the final settings for future reference.
An AC charging station (EVSE) can only be upgraded if its design and listing support the proposed smart controls. Use this checklist to plan the work, configure features, and verify operation. Work on fixed wiring and electrical equipment should be performed by a qualified electrician in accordance with local requirements.
| Stage | Check or action | Practical criteria and data | How to verify |
|---|---|---|---|
| 1. Identify the existing equipment | Record the EVSE model, input voltage, rated current, connector type, installation method, and product approval or listing. | Confirm that the manufacturer’s documentation explicitly permits a smart-control retrofit. If it does not, replace the EVSE with a compatible listed unit rather than modifying internal mains wiring. | Compare the equipment nameplate and installation instructions with the proposed retrofit documentation. |
| 2. Check the electrical supply | Have an electrician inspect the circuit, breaker, conductors, grounding, disconnecting means, and any required residual-current or ground-fault protection. | The EVSE setting must not exceed the circuit’s permitted capacity or the equipment rating. In the United States, EV charging is generally treated as a continuous load; a common example is a maximum 32 A EVSE on a correctly designed 40 A branch circuit. Confirm local code and the actual installation before using this example. | Verify circuit details against the panel schedule, conductor markings, equipment ratings, and applicable local electrical code. |
| 3. Choose the upgrade approach | Select either a manufacturer-approved smart module or a complete smart EVSE replacement. | Smart functions may include scheduled charging, remote start and stop, energy-use reporting, access control, and load management. The control method must be compatible with the EVSE and vehicle charging interface. | Check compatibility documents for the exact EVSE, communication method, firmware, and supported functions. |
| 4. Install safely | Isolate the circuit, verify it is de-energized with appropriate test equipment, and complete installation using the supplied instructions. | Do not install consumer smart plugs, relays, or third-party switching devices in the EVSE’s power path unless they are specifically rated and approved for that application. | Qualified installer records the work, checks terminations and enclosure protection, and restores power only after inspection. |
| 5. Configure network and access | Connect the EVSE to its supported network and set up the authorized user account or local controls. | Use a unique account password, enable available security updates, and avoid sharing access credentials. Confirm that charging remains safely controllable if the internet connection is unavailable. | Check the device status, time and time zone, software version, and local start/stop operation. |
| 6. Set charging features | Configure the current limit, charging schedule, access permissions, notifications, and any supported energy-management settings. | Set the current limit no higher than the lowest applicable limit: circuit capacity, EVSE rating, connector rating, vehicle limit, or local requirement. Confirm schedule times reflect the correct time zone and daylight-saving settings where applicable. | Review every setting in the app or local interface and compare the current limit with the electrician’s documented circuit capacity. |
| 7. Perform commissioning tests | Test the EVSE using the manufacturer’s procedure and suitable electrical test equipment; then connect a compatible vehicle for a controlled charging session. | Confirm normal status indication, correct start and stop behavior, and no fault warnings, unusual heating, smell, or noise. Protection-device tests must follow the EVSE instructions and applicable standards. | Record test results, configured current, firmware version, and any protection-device test outcome. Stop use and investigate if a fault appears. |
| 8. Verify smart operation | Test scheduled charging, remote commands, notifications, and load management if installed. | Confirm that charging follows the configured schedule and that the current limit remains within the approved value. A network outage should not cause unsafe operation or defeat required electrical protection. | Run a supervised test session, compare the EVSE/app status with the vehicle, and check the event or energy record after charging. |
| 9. Document and maintain | Keep installation records and explain normal operation and fault handling to the user. | Record the circuit rating, approved current limit, settings, test date, installer details, and equipment documentation. Follow the manufacturer’s inspection and software-update guidance. | Recheck operation after electrical work, equipment changes, or relevant software updates; arrange service if protection faults or repeated interruptions occur. |
Safety note: This guide is for planning and commissioning, not a substitute for the EVSE installation manual, electrical inspection, or local code. Do not open or modify energized equipment. Requirements vary by country and installation.
Sometimes. A compatible unit may accept a communication module or control upgrade. Check its documentation and rating label first. That matters.
Replace it if it is damaged, unsupported, or too limited for your needs. Compare installation costs, not just equipment prices.
Ask a qualified electrician to verify panel capacity, circuit protection, grounding, cable rating, and local requirements. A neat installation is not proof of safety.
Usually not. The vehicle’s onboard charger converts incoming AC power. An upgrade generally means replacing the wall-mounted charging unit.
Test Wi-Fi beside the charger. A signal that works indoors may fade near a garage wall. Confirm the app or display reports the correct status.
Set a schedule that suits your routine and keep the current within the electrician’s approved limit. Use load management if available. Keep settings simple.
Start at a lower current and confirm the vehicle and charger show matching status. Keep the cable clear of walkways. Let it run briefly.
Stop charging if you notice unusual heat, a burning smell, repeated faults, or a tripped breaker. Don’t open the charger; contact the installer.
Record the circuit details, final settings, and installation information. Keep the manual accessible. I used to enable every alert; that was not helpful.
Upgrading a basic AC charger can make everyday EV charging more convenient, but the right approach depends on the equipment already in place. Start by checking the charger’s condition, features, and connections to determine whether it can support a smart retrofit or should be replaced with a compatible smart unit. Before making changes, verify the electrical supply, circuit capacity, vehicle compatibility, and any relevant safety requirements. If the existing setup cannot reliably support smart functions, replacement may be the more practical option.
Once the suitable hardware is selected, install it according to its instructions and connect it securely to the home network. Then configure features such as charging schedules, power limits, and notifications. Finish by testing the system under normal conditions, confirming that it communicates correctly and charges safely. A careful assessment and step-by-step setup explain How to upgrade a dumb AC charger to a smart smart charger? while helping ensure the upgraded system is dependable and easy to manage.

Rama Charger